Few desserts can claim the title of being equally suited for Halloween and Christmas. Enter the Nightmare Before Christmas Cake—a creative masterpiece inspired by the beloved Tim Burton film. With its blend of spooky and festive, this cake captures the imagination of movie fans and baking enthusiasts alike. In this guide, we’ll explore the inspirations, designs, and occasions that make these cakes unforgettable.
The Inspiration Behind Nightmare Before Christmas Cakes
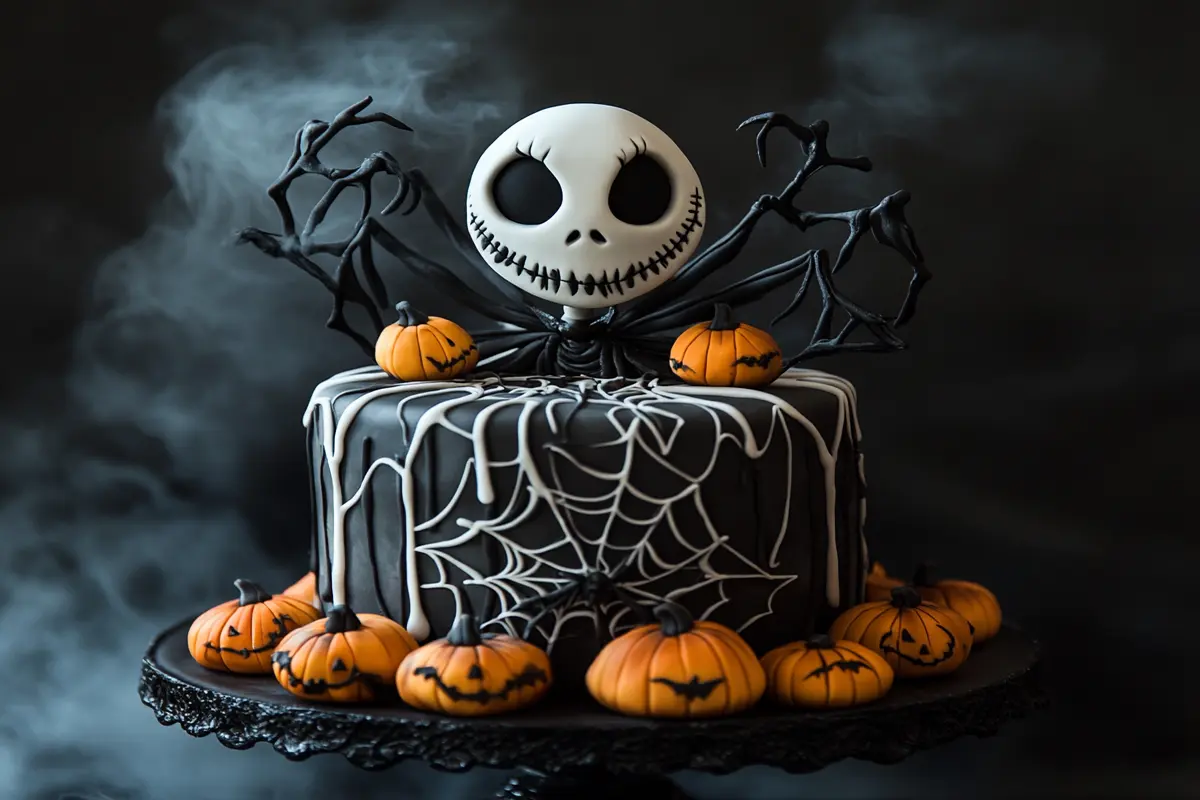
The allure of a Nightmare Before Christmas Cake lies in its dual-themed appeal, combining elements of both Halloween and Christmas. Inspired by Tim Burton’s classic movie, these cakes bring the film’s quirky aesthetic to life in edible form.
A Blend of Halloween and Christmas Themes
At its core, the Nightmare Before Christmas is a story about bridging two holidays. The cakes embody this spirit by blending:
- Spooky Halloween Details: Think dark colors, eerie swirls, and gothic accents.
- Festive Christmas Cheer: Incorporate snowflakes, candy canes, and glittering lights for a touch of joy.
This contrast is visually striking and provides endless creative opportunities for cake designers.
Why It’s a Popular Choice for Fans
The movie’s cult status ensures that Nightmare Before Christmas Cakes remain a sought-after centerpiece for fans. But what makes these cakes so appealing?
Celebrating the Movie’s Iconic Aesthetic
From Jack Skellington’s mischievous grin to Sally’s colorful patchwork dress, the movie’s visual elements translate beautifully to cake designs. These cakes allow fans to express their love for the film while indulging in delicious artistry.
Key reasons for their popularity include:
- Timeless Appeal: The movie resonates with all ages, making the cake a crowd-pleaser.
- Customizable Designs: Whether you prefer a minimalist approach or intricate detailing, the cake can be tailored to your vision.
Key Elements to Include in Your Cake Design

To truly capture the essence of a Nightmare Before Christmas theme, certain design elements are must-haves.
Jack Skellington’s Face and Signature Swirls
- Jack’s Grin: The pumpkin king’s skeletal face is a non-negotiable feature. His iconic eyes and stitched smile are instantly recognizable.
- Signature Swirls: Add swirling patterns inspired by the Spiral Hill scene for a dramatic touch.
Incorporating Gothic and Festive Colors
- Halloween Palette: Use shades of black, white, and deep purple.
- Christmas Accents: Include pops of red, green, and gold for a festive contrast.
These combinations ensure the cake feels cohesive while honoring both holidays.
Popular Occasions for a Nightmare Before Christmas Cake
The versatility of this cake makes it ideal for a variety of celebrations.
Halloween Parties
A Nightmare Before Christmas Cake is a showstopper at any spooky gathering. Pair it with eerie decorations and themed treats for a hauntingly good time.
Christmas Celebrations
Add a bit of unconventional cheer to your Christmas dessert table. The cake stands out amidst traditional holiday offerings, delighting fans of the film.
Themed Birthdays
For fans of all ages, this cake is a perfect birthday centerpiece. Personalize it by incorporating favorite characters or specific scenes from the movie.
Step-by-Step Guide to Making a Nightmare Before Christmas Cake

Creating a Nightmare Before Christmas Cake is as exciting as watching the movie itself! With the right tools, techniques, and creativity, you can craft a cake that’s as delicious as it is visually stunning. Whether for Halloween, Christmas, or a themed birthday, this guide will help you design the perfect tribute to Tim Burton’s classic.
Gathering Your Supplies
Before you start, ensure you have all the necessary tools and materials. Working with intricate designs requires both precision and creativity.
Essential Baking Tools for Complex Designs
- Cake Pans: Round or square pans for your base, and additional molds for detailed shapes.
- Turntable: For smooth frosting application and even decorating.
- Piping Bags and Tips: Essential for creating detailed designs like swirls and patterns.
- Offset Spatula: Helps achieve smooth finishes on cakes.
- Edible Paints and Brushes: Useful for hand-painting characters or details.
Food Coloring, Fondant, and Edible Decorations
- Food Coloring: Black, white, purple, orange, and green for a classic look.
- Fondant: Pre-made or homemade fondant for covering the cake and shaping characters.
- Edible Decorations: Glitter, candy shapes, or small edible figurines for added flair.
Choosing the Cake Base
Your cake’s base is as important as its design. A sturdy, moist cake ensures the structure can hold intricate decorations.
Popular Flavors for Themed Cakes
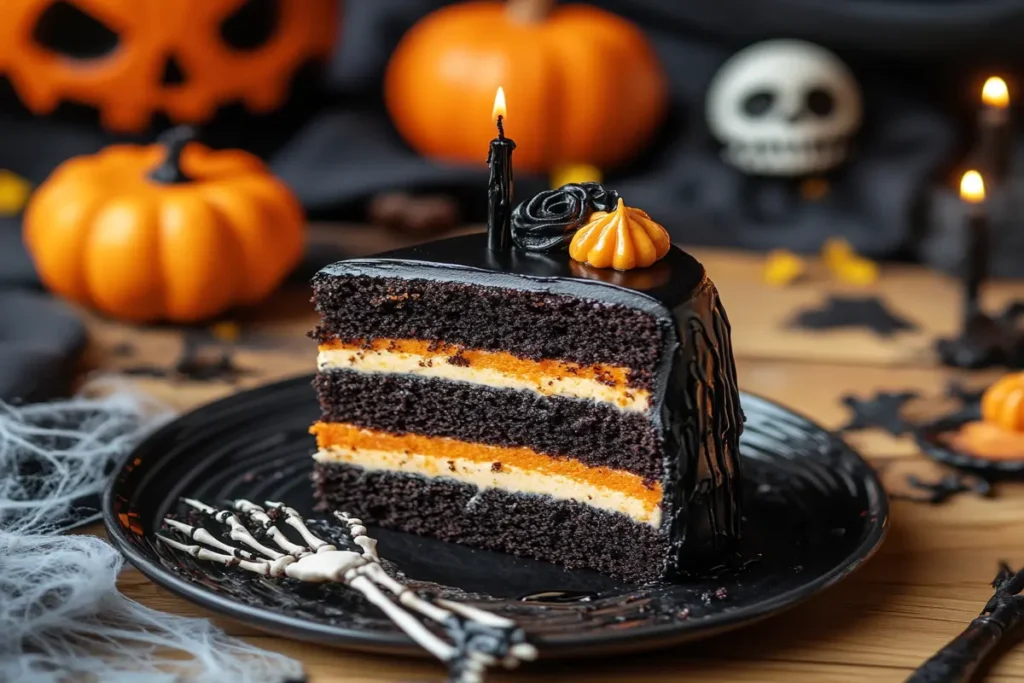
- Chocolate or Devil’s Food Cake: Perfect for the dark, gothic theme.
- Red Velvet: Adds a dramatic pop of color when sliced.
- Vanilla or Almond Cake: Neutral flavors that pair well with rich frosting.
Tips for a Moist and Stable Cake
- Use Buttermilk or Yogurt: These add moisture without making the cake too dense.
- Cool Layers Completely: Before decorating, let the layers cool fully to avoid melting the frosting.
- Chill Before Stacking: A refrigerated cake is easier to work with when layering.
Creating Iconic Characters on the Cake
The characters from The Nightmare Before Christmas are the heart of your design. Focus on their signature looks for an authentic feel.
Jack Skellington’s Signature Look
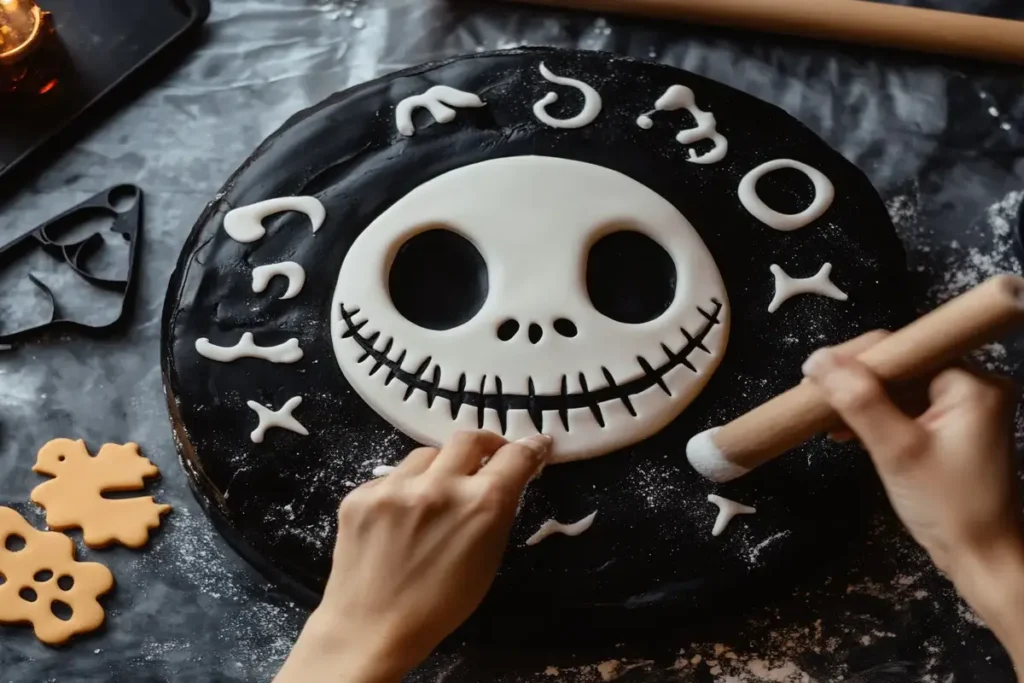
- Fondant Head: Use white fondant to shape Jack’s face. Add his eyes, nose, and stitched smile using black edible paint.
- Top Hat or Bow Tie: Add a small bow tie with striped fondant for extra detail.
Sally’s Stitched Patterns and Colors
- Patchwork Effect: Use colorful fondant (blue, red, and yellow) to mimic her dress. Create “stitches” with thin black icing.
- Hand-Painted Features: Sally’s face and hair can be painted directly onto fondant or made with edible markers.
Oogie Boogie and Other Fun Additions
- Oogie Boogie: Shape his burlap body with beige or light brown fondant. Add black eyes and a sinister grin.
- Zero the Dog: Sculpt Zero using white fondant and add a small orange nose for his glowing effect.
Layering and Structuring Your Cake
Adding tiers or layers gives your cake height and drama, perfect for capturing the Nightmare Before Christmas cake vibe.
Adding Multiple Tiers for Drama
- Base Tier: Keep it simple with a smooth fondant covering, using bold colors like black or purple.
- Top Tier: Add characters or a scene, such as the Spiral Hill.
Pro Tip: Vary the height of each tier for visual interest.
Stabilizing Tall or Intricate Cakes
- Dowels and Supports: Insert wooden or plastic dowels into the base layers for stability.
- Chilling Between Steps: Keep the cake cool during assembly to prevent sagging.
Decorating, Displaying, and Storing Your Nightmare Before Christmas Cake
Now that your Nightmare Before Christmas Cake is baked, shaped, and layered, it’s time to focus on the finishing touches. Decorating is where your creativity shines, and with the right techniques, you can bring the movie’s iconic aesthetic to life. This part also covers how to display your cake for maximum impact and tips for storing and transporting it safely.
Decorating Your Nightmare Before Christmas Cake
The magic of your cake lies in its decorations. By mastering frosting techniques and incorporating key elements from the movie, you can create a truly show-stopping design.
Frosting and Fondant Techniques
Achieving Smooth Fondant Finishes
- Preparation: Roll out fondant evenly on a clean, lightly dusted surface.
- Application: Use a rolling pin to drape the fondant over the cake and smooth it down with a fondant smoother, removing air bubbles.
- Pro Tip: Trim excess fondant with a pizza cutter for clean edges.
Painting with Edible Colors
- Tools: Use food-safe brushes and edible paints in black, white, and vibrant hues.
- Techniques: Paint Jack’s swirls, Sally’s patchwork, and fine details directly onto the fondant for precision.
Adding 3D Elements and Props
Elevate your design with three-dimensional decorations that make your cake stand out.
Using Edible Figurines
- Jack and Sally: Sculpt small figurines using fondant or modeling chocolate.
- Zero the Dog: Create Zero’s floating effect by mounting him on a clear sugar stick.
Non-Edible Toppers for a Showstopper Look
- Plastic or Ceramic Figurines: Add pre-made toppers for a polished look.
- LED Lights: Incorporate small, battery-operated lights for a glowing effect, such as around the Spiral Hill or inside a mini pumpkin.
Setting Up a Display for Maximum Impact
The way you present your cake can make it even more magical. Pair the cake with a themed display to immerse guests in the Nightmare Before Christmas world.
Designing a Movie-Themed Dessert Table
- Backdrop: Use a black-and-white striped fabric reminiscent of Jack’s suit.
- Accessories: Add pumpkins, gothic candelabras, and Nightmare Before Christmas props for ambiance.
- Other Treats: Complement the cake with cupcakes, cookies, and cake pops in matching designs.
Incorporating Lights and Other Decor
- String Lights: Wrap fairy lights around the table or cake stand.
- Themed Tableware: Use plates and napkins featuring characters from the movie.
Storing and Transporting the Cake
Proper storage and transport ensure your cake stays intact and fresh until it’s time to serve.
Keeping the Decorations Intact
- Refrigeration: Store the cake in a box to protect decorations. Use a tall container to prevent squishing figurines.
- Humidity Control: Avoid overly humid environments that can damage fondant or frosting.
Freezing Cake Layers for Later Assembly
- Before Decoration: Wrap unassembled cake layers tightly in plastic wrap and aluminum foil, then freeze for up to a month.
- Thawing: Allow layers to thaw in the refrigerator overnight before decorating.
Fun Variations of the Theme
If a full-sized cake feels too ambitious or you want additional treats, consider these fun variations.
Cupcakes and Cake Pops
- Mini Jack Skellington Cupcakes: Pipe Jack’s face onto black frosted cupcakes.
- Oogie Boogie Cake Pops: Shape cake pops into Oogie Boogie’s silhouette and dip them in green chocolate.
Mini Cakes for Individual Servings
- Create small cakes shaped like characters or iconic symbols (e.g., the Spiral Hill or Jack’s bow tie) for a personalized touch.
More FAQs
1. Can I use pre-made fondant for my cake?
Yes, pre-made fondant saves time and ensures a smooth texture.
2. How do I create vibrant black frosting?
Start with chocolate frosting as a base, then mix in black gel food coloring.
3. Are non-edible toppers safe to use on cakes?
Yes, as long as they are food-safe or placed on a barrier like parchment paper.
4. What’s the best type of cake stand for tall designs?
A sturdy, flat cake stand with a non-slip base is ideal for stability.
5. Can I make the cake ahead of time?
You can bake the layers and freeze them up to a month in advance, then decorate closer to the event.
6. How do I transport a tall cake safely?
Use a cake box that fits snugly and place non-slip mats underneath during transport.
7. Can I use edible markers for detailing?
Yes, edible markers are great for small, intricate details like Sally’s stitches.
8. What’s the best way to support multiple tiers?
Insert dowels into the bottom layers to support the upper tiers.
9. Can I create a Nightmare Before Christmas theme without fondant?
Yes, use buttercream frosting and pipe designs for a fondant-free approach.
10. How can I make the cake gluten-free?
Use a gluten-free flour mix and ensure all decorations are gluten-free.


2 thoughts on “Nightmare Before Christmas Cake: A Sweet Twist on Spooky”