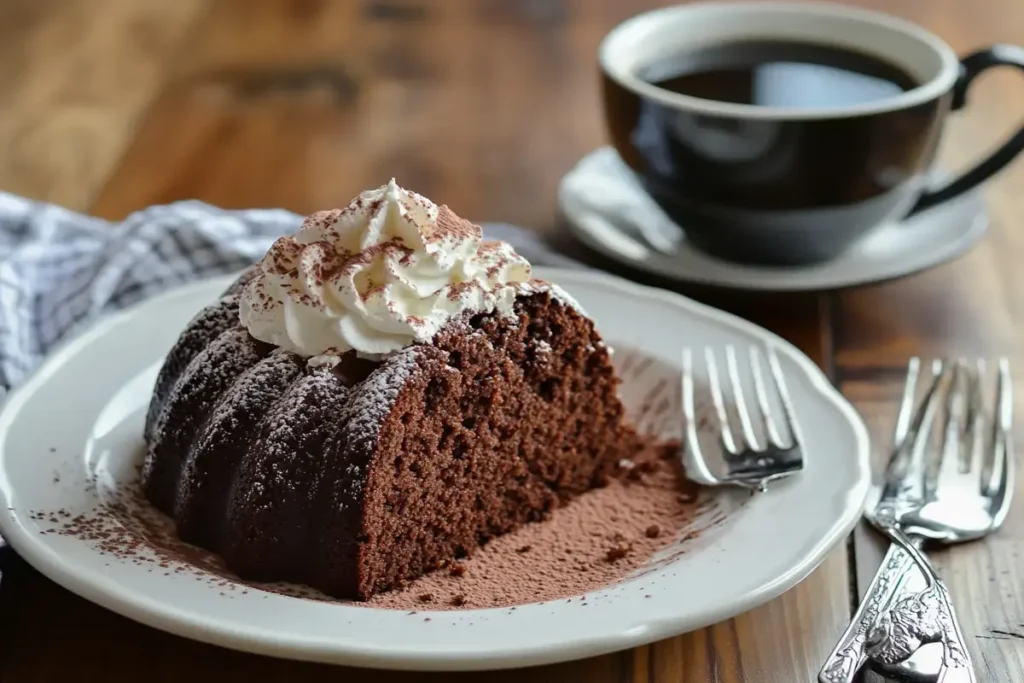
Chocolate and cream cheese—two indulgent ingredients that, when combined, create an irresistible dessert masterpiece. The chocolate cream cheese pound cake is a rich and flavorful treat that combines moist textures with deep, decadent flavors. Whether for a special occasion or a weekend indulgence, this dessert is guaranteed to impress. Let’s dive into the world of this luxurious cake, exploring its inspiration, key ingredients, and exciting variations.
The Allure of Combining Chocolate and Cream Cheese
A Fusion of Rich Flavors and Moist Textures
The combination of chocolate and cream cheese elevates the classic pound cake to an entirely new level. The chocolate provides an intense, velvety flavor, while the cream cheese lends a luscious, creamy texture that keeps the cake moist. Together, they create a balance of richness and lightness that’s hard to resist.
This fusion also ensures the cake remains versatile, appealing to those who love classic chocolate desserts while introducing a subtle tanginess from the cream cheese. It’s perfect for those who crave depth of flavor in every bite.
Inspiration from Classic Recipes
Gordon Ramsay’s Chocolate Pound Cake Insights
Famed chef Gordon Ramsay once noted that the secret to a great chocolate cake lies in its balance of flavors. A good chocolate cake should highlight the cocoa’s depth without overpowering the other ingredients. The chocolate cream cheese pound cake achieves this with its creamy tang and just the right amount of sweetness, embodying the principles of Ramsay’s approach.
Traditional Cream Cheese Pound Cake Techniques
The origins of cream cheese pound cake date back to classic southern baking traditions. These cakes are known for their dense yet tender crumb, achieved by creaming butter and cream cheese together to create a smooth, rich base. Incorporating chocolate into this tradition adds a modern twist, making it an instant favorite among chocolate lovers.
Key Ingredients for Success
High-Quality Cocoa Powder and Chocolate

The quality of your chocolate can make or break this cake. Opt for unsweetened cocoa powder with a rich flavor and no added sugars. For an extra layer of decadence, incorporate semi-sweet or dark chocolate melted into the batter. Using premium ingredients ensures your cake has a deep, luxurious chocolate profile.
Full-Fat Cream Cheese for Creaminess
The cream cheese is a crucial ingredient that adds both moisture and tangy flavor to the cake. Always use full-fat cream cheese for the best results, as reduced-fat versions can compromise the cake’s richness and texture.
Variations to Explore
Adding Nuts or Chocolate Chips
To enhance the texture and flavor of the cake, consider adding chopped nuts like pecans or walnuts. For chocolate enthusiasts, chocolate chips scattered throughout the batter create delightful pockets of melted chocolate in every slice.
Incorporating Flavored Extracts
Experimenting with extracts can give your cake a unique twist. Add vanilla extract for a classic touch, almond extract for a nutty undertone, or peppermint extract for a refreshing holiday-inspired version. These small additions can significantly change the cake’s flavor profile, making it adaptable for different occasions.
Crafting the Chocolate Cream Cheese Pound Cake
Creating a chocolate cream cheese pound cake is a rewarding experience that combines the science of baking with the art of presentation. With the right tools, techniques, and a little patience, you’ll achieve a cake that’s rich, moist, and beautifully textured. Let’s walk through the process, step by step.
Step-by-Step Baking Guide
Essential Equipment

Before diving into the recipe, it’s important to have the right tools on hand. These not only make the process smoother but also ensure professional-quality results.
Bundt Pan, Mixing Bowls, Electric Mixer
A Bundt pan is the traditional choice for pound cakes, as its design helps distribute heat evenly for a perfect bake. Additionally, you’ll need:
- Mixing bowls in various sizes to organize wet and dry ingredients.
- An electric mixer to cream the butter, cream cheese, and sugar effectively. This step is crucial for achieving a smooth, airy batter.
Spatulas and Cooling Rack
Spatulas are essential for scraping down the sides of the bowl and ensuring every bit of batter is incorporated. A cooling rack helps the cake cool evenly after baking, preventing soggy bottoms and ensuring the perfect texture.
Preparing the Batter
Creaming Butter, Cream Cheese, and Sugar
The foundation of this pound cake lies in properly creaming the butter, cream cheese, and sugar. Start by:
- Ensuring the butter and cream cheese are at room temperature for easy blending.
- Using the electric mixer on medium speed to beat these ingredients until the mixture is light and fluffy. This step introduces air into the batter, giving the cake its tender crumb.
Incorporating Eggs One at a Time
Add eggs to the batter, one at a time, mixing well after each addition. This gradual incorporation ensures the eggs blend smoothly without curdling the mixture. The eggs help bind the ingredients and contribute to the cake’s structure.
Sifting and Adding Dry Ingredients
In a separate bowl, sift together the dry ingredients—flour, cocoa powder, baking powder, and a pinch of salt. Sifting aerates the mixture, removing lumps and ensuring even distribution. Gradually add the dry ingredients to the wet mixture, alternating with a splash of milk to maintain a smooth, pourable consistency.
Baking the Cake
Preheating the Oven to 325°F (163°C)
Preheating the oven is a critical step in baking. Set the temperature to 325°F (163°C) and allow the oven to reach this heat fully before placing the cake inside. This ensures even baking from the moment the cake enters the oven.
Greasing and Flourishing the Bundt Pan
To prevent sticking:
- Grease the Bundt pan thoroughly with butter or nonstick spray.
- Dust it lightly with cocoa powder or flour, shaking out any excess. Using cocoa powder instead of flour avoids leaving a white residue on the chocolate cake.
Pouring Batter and Smoothing the Top
Carefully pour the prepared batter into the Bundt pan. Use a spatula to smooth the top, ensuring even distribution. This step helps the cake bake evenly and avoids uneven surfaces.
Baking Time and Doneness Indicators
Place the pan in the preheated oven and bake for 60-70 minutes. To check for doneness:
- Insert a toothpick or skewer into the center of the cake. If it comes out clean or with a few moist crumbs, the cake is ready.
- Ensure the edges of the cake begin to pull away slightly from the sides of the pan for additional confirmation.
Cooling and Releasing
Cooling in Pan Before Inverting
Once baked, remove the cake from the oven and allow it to cool in the pan for about 15-20 minutes. This resting time helps the cake set, making it easier to release without breaking.
Transferring to Wire Rack for Complete Cooling
After resting, gently invert the Bundt pan onto a cooling rack. If the pan was greased and floured properly, the cake should slide out effortlessly. Allow the cake to cool completely before glazing or slicing. Cooling fully ensures the texture is firm and prevents the glaze from melting when applied.
By following these steps, you’ll craft a cake that is not only visually stunning but also packed with rich, chocolatey flavor and a moist, tender crumb.
Crafting the Chocolate Cream Cheese Pound Cake
Making a chocolate cream cheese pound cake from scratch is a fulfilling process that brings together rich flavors and professional-quality techniques. With the right tools and step-by-step guidance, you can create a masterpiece that’s both decadent and beautifully textured. This section provides a detailed breakdown of each stage, ensuring you achieve consistent and delicious results every time.
Step-by-Step Baking Guide
Essential Equipment
Before starting, it’s crucial to gather the right tools, as they significantly impact the outcome of your cake. Not only do they ensure a smooth process, but they also help achieve that perfect professional finish.
Bundt Pan, Mixing Bowls, Electric Mixer
A Bundt pan is ideal for pound cakes, as its unique shape distributes heat evenly, ensuring the cake bakes perfectly throughout. Additionally, you’ll need mixing bowls of various sizes to keep your ingredients organized, making it easier to follow each step without confusion. Using an electric mixer is particularly important for creaming the butter, cream cheese, and sugar, as this step requires a level of speed and consistency that’s hard to achieve by hand.
Moreover, investing in a sturdy electric mixer can save time and improve the texture of your batter. Its ability to whip ingredients uniformly ensures the final cake is soft and moist. Mixing bowls with non-slip bases can also make the process more efficient, especially if you’re working with heavier batters.
Spatulas and Cooling Rack
Spatulas are indispensable for scraping down the sides of your mixing bowl, ensuring no ingredient is left unincorporated. This not only reduces waste but also maintains a uniform batter. Additionally, a cooling rack allows your cake to cool evenly, preventing soggy bottoms caused by trapped steam. Without a cooling rack, the texture of your cake could be compromised, so it’s an essential piece of equipment.
Preparing the Batter
Creaming Butter, Cream Cheese, and Sugar
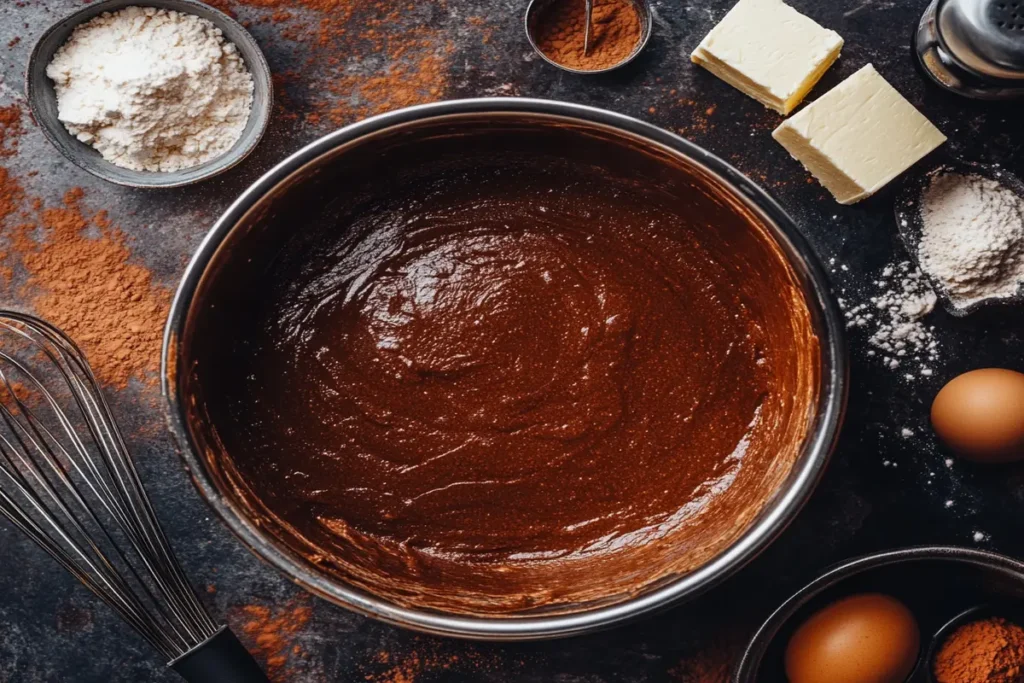
The success of this pound cake depends heavily on how well the butter, cream cheese, and sugar are creamed together. Start by ensuring your butter and cream cheese are at room temperature, as this makes them easier to blend smoothly. Using an electric mixer, beat these ingredients together on medium speed until the mixture becomes light and fluffy. This process is essential because it incorporates air, creating a cake that is tender and not overly dense.
As you cream these ingredients, it’s helpful to scrape down the sides of the bowl frequently. This ensures that every bit of butter and cream cheese is thoroughly mixed, avoiding lumps in the batter. The sugar dissolves into this mixture during the creaming process, which also contributes to the cake’s moistness and sweetness.
Incorporating Eggs One at a Time
Adding eggs to the batter is a step that requires patience, as rushing it can result in a lumpy mixture. Crack the eggs one at a time, blending each one fully before adding the next. This gradual incorporation helps the batter maintain its smooth consistency, allowing the proteins in the eggs to bind effectively with the fat from the butter and cream cheese.
Moreover, adding the eggs slowly ensures they emulsify with the other ingredients, preventing the batter from curdling. This step also creates a stable structure for the cake, allowing it to rise evenly in the oven.
Sifting and Adding Dry Ingredients
In a separate bowl, combine your dry ingredients—flour, cocoa powder, baking powder, and salt—and sift them together. Sifting is an important step that not only removes lumps but also aerates the flour, making the batter lighter and easier to mix. Gradually add the dry ingredients to the wet mixture, alternating with a splash of milk or cream to maintain a smooth, pourable consistency.
This alternating technique is key because it prevents the batter from becoming too thick, which can make mixing difficult. It also ensures the dry ingredients are evenly distributed, giving your cake a consistent texture throughout.
Baking the Cake
Preheating the Oven to 325°F (163°C)
Preheating your oven is a step that should never be overlooked. Set the temperature to 325°F (163°C) and allow it to fully heat before placing the cake inside. Starting with a hot oven ensures the cake begins baking immediately, helping it rise properly and bake evenly. Skipping this step can lead to uneven baking, with some parts overdone and others undercooked.
While the oven preheats, take the time to double-check your batter and prepare your Bundt pan. This ensures that everything is ready to go as soon as the oven reaches the desired temperature, avoiding any delays that could affect the cake’s texture.
Greasing and Flourishing the Bundt Pan
To prevent your cake from sticking to the pan, grease it thoroughly with butter or a nonstick spray. Follow this by dusting the pan lightly with cocoa powder or flour. Using cocoa powder instead of flour avoids leaving a white residue on the dark chocolate cake, maintaining its rich appearance. Make sure to tap out any excess powder or flour to avoid clumps forming on the cake’s surface.
This step is especially important for intricate Bundt pan designs, where batter tends to stick to the crevices. A well-prepared pan ensures a smooth release, leaving your cake intact and visually appealing.
Pouring Batter and Smoothing the Top
Carefully pour your prepared batter into the Bundt pan, making sure to fill it evenly. Use a spatula to smooth the top of the batter, which helps the cake bake uniformly. Smoothing the surface also eliminates air pockets that could create uneven textures within the cake.
Additionally, tapping the filled pan gently on the counter a few times helps release trapped air bubbles, further ensuring a consistent bake. This simple step can make a big difference in the final texture of your cake.
Baking Time and Doneness Indicators
Place the Bundt pan in the preheated oven and set a timer for 60-70 minutes. While baking, avoid opening the oven door frequently, as this can cause temperature fluctuations that may result in an uneven rise. To test for doneness, insert a toothpick or skewer into the center of the cake. If it comes out clean or with only a few moist crumbs, the cake is done.
Additionally, observe the cake’s edges—they should begin pulling away slightly from the sides of the pan as the cake finishes baking. This visual cue, combined with the toothpick test, ensures your cake is perfectly baked.
Cooling and Releasing
Cooling in Pan Before Inverting
After removing the cake from the oven, let it rest in the pan for 15-20 minutes. This cooling period allows the cake to set, making it easier to release without breaking apart. Attempting to remove the cake too early can result in cracks or a collapsed structure.
During this time, the residual heat in the pan continues to cook the cake slightly, ensuring the center is fully set. This step also allows the flavors to develop further, enhancing the overall taste.
Transferring to Wire Rack for Complete Cooling
Once the initial cooling period is complete, gently invert the Bundt pan onto a cooling rack. If the pan was prepared properly, the cake should slide out effortlessly. Let the cake cool completely on the rack before glazing or slicing, as this prevents the glaze from melting and ensures a neat presentation.
Cooling the cake fully also helps it firm up, making it easier to cut clean, even slices when serving. This step is especially important if you plan to store or transport the cake, as a fully cooled cake is less fragile and more durable.

